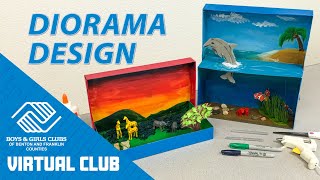
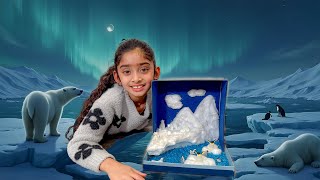
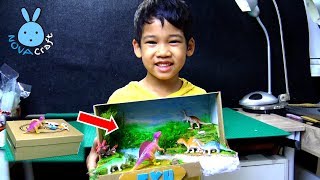
What Is a Biome Shoebox Project?
A Biome Shoebox Project is a hands‑on classroom activity that turns a simple cardboard shoebox into a miniature ecosystem. By recreating a forest, rainforest, or ocean habitat, students visualize the relationships between plants, animals, climate, and geography. The project aligns with science standards for ecosystems, encourages creativity, and provides a tangible way to explore biodiversity without leaving the classroom.
Why Choose a Shoebox for a Diorama?
The shoebox format offers several practical benefits:
- Size: A standard shoe box (about 13×8×5 inches) is large enough to include detailed features yet small enough to fit on any desk.
- Affordability: Cardboard boxes are inexpensive or can be recycled from old shoes, making the project budget‑friendly.
- Portability: Completed dioramas can be displayed on shelves, taken on field trips, or mailed to distant classrooms for collaborative learning.
Planning Your Biome Shoebox
Before cutting, gluing, or painting, follow these planning steps to ensure a successful project:
- Select a biome: Decide whether you will model a temperate forest, tropical rainforest, or marine ocean.
- Research key features: Identify the dominant plants, typical animals, climate patterns, and soil types of the chosen biome.
- Sketch a layout: Draw a simple floor plan showing where trees, water, rocks, and animal figures will go. This helps you estimate material needs.
- Gather supplies: Common items include colored construction paper, cotton balls, pipe cleaners, glue, scissors, and natural materials such as sand, pebbles, or dried leaves.
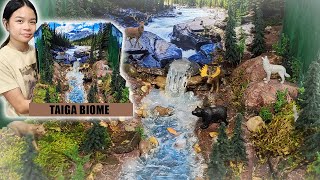
Step‑by‑Step: Building a Rainforest Shoebox
The rainforest is a popular choice for a Biome Shoebox Project because of its vibrant colors and dense vegetation. Here’s a concise guide for a Grade 5 classroom:
- Base layer: Cover the bottom of the box with a thin layer of brown construction paper to represent soil.
- Canopy: Cut strips of green felt or construction paper and attach them vertically to create a layered canopy. Overlap pieces for depth.
- Plants: Use pipe cleaners wrapped with green tissue paper to form tree trunks. Add small leaves from foam sheets or cut out from colored paper.
- Ground cover: Sprinkle a mixture of sand and shredded brown paper to mimic leaf litter.
- Animals: Craft miniature rainforest creatures—such as a toucan, tree frog, or jaguar—from clay or polymer‑clay. Position them on branches or the forest floor.
- Water feature: Paint a small area of the base blue and add a thin layer of clear glue to create a pond or stream.
- Finishing touches: Add cotton ball "clouds" at the top of the box, and label each component with small paper tags for

![Rainforest Diorama school project [how to]](https://i.ytimg.com/vi/c3ZrwtlJHmw/mqdefault.jpg)