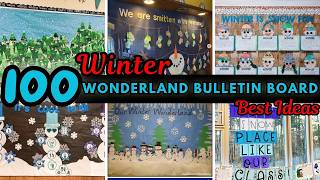
Creating a Snowy Scene
Transform a classroom board into a serene winter landscape by layering simple materials. Begin with a pale blue or gray background to mimic a winter sky. Cut rolling hills from white bulletin board paper and staple them across the bottom third of the board. Add depth by stacking two or three layers of these hills, each slightly shorter than the one before.
Snowflakes are essential for any winter wonderland theme. Have students cut their own from folded paper, or provide pre-cut shapes in varying sizes. Arrange them falling from the top of the board or drifting across the hills. For a three-dimensional effect, attach some snowflakes with foam dots so they stand away from the surface. Cotton balls or polyester fiberfill can be glued to the bottom edge to resemble fresh snowdrifts. A few bare tree branches, cut from brown paper and placed along the sides, complete the outdoor scene.
Incorporating Winter Animals
Winter animals add life and charm to bulletin boards while offering opportunities for cross-curricular learning. Penguins are a popular choice because they are easy to draw and adaptable to many themes. For a counting display, create ten penguins labeled one through ten, each holding a different number of fish. For a writing activity, have each student write a short story about a penguin's day and display the stories beside a class-created penguin colony.
Polar bears and snowy owls also fit the winter wonderland theme. Cut large polar bear shapes from white paper and let students add details like black noses and eyes. Arrange them on the board with a caption such as "Warming Up to Winter Reading." For owls, use brown and white construction paper to create perches on snowy branches. This works well for a "Whoooo Loves Winter?" board featuring student book recommendations.
If you involve young children in making the animals, keep crafts simple. Use paper plates for penguin bodies or cotton balls for polar bear fur. The process reinforces fine motor skills while producing results