Create Your Own Coordinate Plane: A Step‑by‑Step Guide
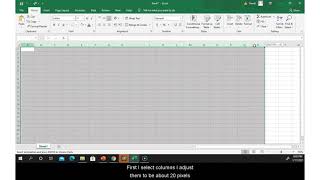
Designing a personalized coordinate plane gives students a visual foundation for algebra, geometry, and calculus. Whether you are a classroom teacher, a tutoring professional, or a self‑learner, building your own grid lets you control scale, labeling, and visual style. The following guide walks you through the entire process, from paper sketch to digital tools such as PowerPoint and Excel.
Why a Custom Coordinate Plane Matters
A one‑size‑fits‑all graph paper often falls short when you need to illustrate specific concepts. A custom plane can:
- Match curriculum standards by using exact unit lengths.
- Highlight critical points such as intercepts, asymptotes, or vectors.
- Engage learners through color, shading, or thematic designs.
Our approach emphasizes clarity and flexibility, so the same plane can serve both introductory plotting and advanced calculus topics.
Gather Your Materials
Before you start, collect the following items:
- Graph paper or a blank sheet of printer paper.
- A ruler (or digital ruler if you work on a computer).
- Pencil, eraser, and colored markers.
- Access to Microsoft PowerPoint or Excel for digital versions.
Having these tools at hand reduces setup time and lets you focus on the learning objectives.
How To Draw the Axes
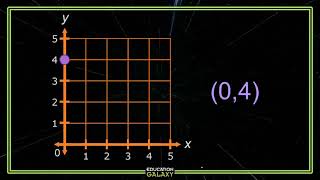
1. Locate the origin. Place a small dot near the center of the page; this will be the point (0,