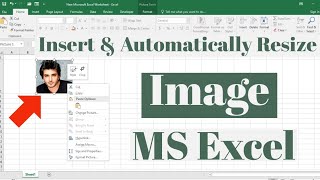
How To Insert Image In Cell Excel: Step‑by‑Step Guide
Embedding a picture directly inside a worksheet cell can make your spreadsheets more visual and easier to understand. Whether you are preparing a product catalog, a project tracker, or a classroom roster, knowing how to insert image in cell Excel is a valuable skill. In this article you will learn the quickest methods, the advantages of each approach, and tips for maintaining image alignment when rows or columns change.
Why Put an Image Inside a Cell?
Placing an image inside a cell, rather than floating it over the grid, ensures the picture moves, resizes, and sorts with the surrounding data. This keeps your workbook tidy and prevents mis‑alignment after sorting or filtering. In addition, cell‑anchored images can be referenced in formulas, enabling dynamic dashboards that change based on user selections.
Preparation: Choose the Right Image Format
Excel supports common picture formats such as PNG, JPEG, GIF, and BMP. For crisp display at small sizes, PNG is usually the best choice because it preserves transparency and detail. Before inserting, consider cropping the picture to the exact dimensions you need. This reduces file size and speeds up workbook loading.
Method 1 – Using the Insert > Pictures Command
Let’s see the classic way to add a picture to a cell:
- Select the cell where you want the image to appear.
- Go to the Insert tab on the ribbon and click Pictures → This Device (or Online Pictures).
- Browse to the image file, select it, and click Insert.
- With the picture still selected, right‑click and choose Size and Properties.
- In the Properties section, select Move and size with cells. This anchors the picture to the chosen cell.
- Resize the picture by dragging its corners until it fits neatly inside the cell boundaries.
In this video tutorial, you'll learn how each step affects the picture’s behavior when the worksheet is edited.
Method 2 – Using the Camera Tool for Dynamic Images
Excel’s Camera tool creates a live snapshot of a range and inserts it as a picture that updates automatically. This is useful when you want the image to reflect changes in the source data:
- Enable the Camera tool: File → Options → Customize Ribbon → All Commands, then add Camera to a custom group.
- Select the range that contains the picture you wish to copy.
- Click the Camera icon; Excel copies a dynamic picture to the clipboard.
- Click