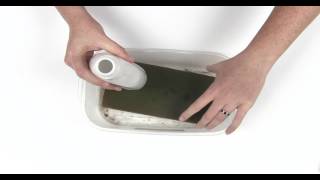
How To Make A Killing Jar For Insects
A killing jar is a simple, portable device used by entomologists and hobbyists to quickly immobilize and preserve insects for later study or mounting. The jar works by exposing the specimen to a volatile chemical that depresses the nervous system, causing rapid loss of movement without damaging the external morphology. Below is a step‑by‑step guide that outlines the materials, safety precautions, and assembly process for a reliable killing jar.
Materials You Will Need
- A glass or clear plastic jar with a tight‑fitting lid (½‑liter to 1‑liter capacity works well)
- Absorbent material such as cotton balls, filter paper, or a small piece of sponge
- A volatile killing agent – the most common choices are ethyl acetate (often found in nail polish remover) or chloroform; ethyl acetate is preferred for its lower toxicity and pleasant odor
- Protective gloves (nitrile or latex)
- Safety goggles
- A well‑ventilated workspace or a fume hood
- Labeling tape and a permanent marker (optional, for marking the jar)
Safety Considerations
Before assembling the jar, observe the following precautions:
- Always wear gloves and goggles when handling the killing agent.
- Work in a area with good airflow; avoid inhaling vapors directly.
- Keep the jar away from open flames, sparks, or heat sources – ethyl acetate is flammable.
- Store the completed jar out of reach of children and pets.
- Dispose of used absorbent material according to local hazardous waste regulations.
Step‑by‑Step Assembly
- Prepare the absorbent: Place a cotton ball (or a small piece of filter paper) at the bottom of the jar. The material should be loose enough to allow vapors to circulate but dense enough to hold the liquid.
- Add the killing agent: Using a dropper or syringe, add approximately 1–2 ml of ethyl acetate onto the absorbent. The exact amount depends on jar size; the goal is to saturate the material without creating a pool of liquid at the bottom.
- Seal the jar: Screw the lid on tightly. If the lid has a rubber gasket, ensure it is seated properly to prevent leakage.
- Allow equilibration: Let the jar sit for a few minutes with the lid closed. This allows the vapor to saturate the interior atmosphere.
- Test the jar (optional): Place a small, non‑target insect (e.g., a fruit fly) inside for a few seconds to confirm rapid immobilization. If the insect remains active, add a bit more absorbent or a slightly larger volume of the killing agent.