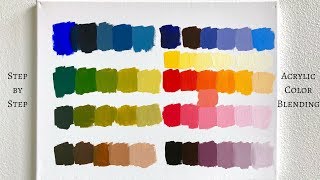
How To Make Brown Primary Colors
Understanding how to make brown is a fundamental skill for any artist, whether you are working with acrylics, oils, watercolors, or colored pencils. While many paint sets come with a pre-mixed tube of "Burnt Sienna" or "Raw Umber," learning how to blend your own brown allows you to control the temperature, depth, and mood of your artwork.
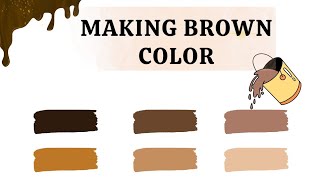
Brown is a composite color, meaning it is created by mixing other colors together. Because it is a neutral tone, there are several different methods to achieve it depending on the primary colors you have on your palette.
Mixing Brown Using Primary Colors
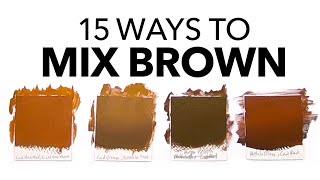
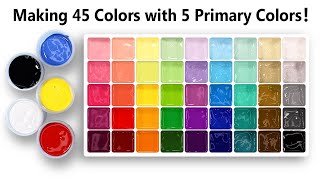
The most direct way to create brown is by mixing the three primary colors together: Red, Yellow, and Blue. When these three colors are combined in roughly equal parts, they neutralize each other, resulting in a dark, muddy brown.
To achieve the best results, follow these steps:
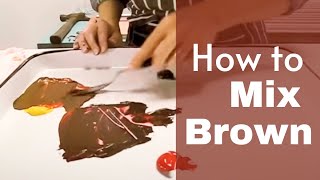
- Start with Yellow and Red: Mix these two first to create orange.
- Gradually add Blue: Slowly introduce blue into the orange mix. Because blue is a stronger pigment, adding too much too quickly can turn the mixture grey or black.
- Adjust the Balance: If the brown looks too green, add a touch more red. If it looks too purple, add more yellow.
Mixing Brown Using Complementary Colors
Another efficient method to make brown is by mixing a primary color with its complementary color (the color opposite it on the color wheel). This process is often faster than mixing three separate colors.
1. Blue and Orange
Since orange is made of red and yellow, mixing blue with orange is essentially mixing all three primaries. This typically creates a deep, earthy brown.
2. Red and Green
Mixing red with green often results in a warm, rich brown. This combination is particularly useful for painting autumn leaves or organic soil textures.
3. Yellow and Purple
Combining yellow and purple creates a more muted, golden-brown or tan shade. This is an excellent starting point for skin tones or sandy landscapes.
How to Mix Different Shades of Brown
Once you have a basic brown, you will rarely leave it as is. Professional artists adjust the "temperature" and "value" of the brown to create realism.
Adjusting the Temperature
Browns can be categorized as either warm or cool. This distinction is vital for creating depth and lighting in a painting.
- Warm Browns: To make a brown warmer, add more red or yellow. These shades are ideal for sunlight, wood, and warm skin tones.
- Cool Browns: To make a brown cooler, add a small amount of blue. Cool browns are perfect for shadows, damp earth, or distant mountains.
Adjusting the Value (Light and Dark)
Value refers to how light or dark a color is. Instead of using black and white, try these professional blending techniques:
- To Lighten (Tints): Add white for a pastel brown or yellow for a golden tan.
- To Darken (Shades): Add dark blue or purple. Avoid using pure black, as it can make the brown look "flat" or "dead." Using a dark complementary color keeps the brown vibrant.
Tips for Beginners Working with Acrylics
If you are following an acrylic painting tutorial, remember that acrylics tend to dry slightly darker than they appear when wet. Always test your brown mixture on a scrap piece of paper and let it dry completely before applying it to your final canvas.
To keep your colors clean, ensure you are using a clean brush when switching between your primary colors. If your brush is contaminated with blue, your "warm brown