How To Make Table Of Contents In Google Docs: A Step‑by‑Step Guide
Tired of scrolling endlessly through your long documents? A well‑structured table of contents (TOC) saves time, improves readability, and gives your work a professional look. Google Docs makes it easy to create and update a TOC with just a few clicks. In this article you’ll learn how to make a table of contents in Google Docs, customize its style, and troubleshoot common problems.
Why Add a Table of Contents?
Navigation made simple. Readers can jump directly to the section they need, which is especially helpful for reports, manuals, and e‑books.
Professional presentation. A clear TOC signals that your document is organized and well‑planned.
Automatic updates. When you edit headings, Google Docs can refresh the TOC so the page numbers and titles stay accurate.
Prepare Your Document for a TOC
Google Docs builds a TOC from heading styles. Follow these steps before you insert the table:
- Open your document in Google Docs.
- Select the text that should become a section title.
- From the toolbar, click the Styles dropdown (usually shows “Normal text”).
- Choose Heading 1 for main sections, Heading 2 for subsections, and Heading 3 for deeper levels.
- Repeat for every heading you want to appear in the TOC.
Using consistent heading levels ensures the TOC reflects the hierarchy you intend.
Insert the Table of Contents
Once your headings are set, adding the TOC is straightforward:
- Place the cursor where you want the TOC to appear (typically at the beginning of the document).
- Click Insert in the menu bar.
- Hover over Table of contents.
- Choose one of the two styles: with links only (plain text) or with links and page numbers (shows numbers).
- The TOC is inserted automatically, listing all headings you applied.
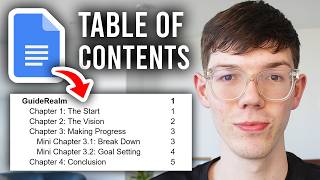
In this video, I show you how to add a TOC with just a few clicks, so you can follow along visually.
Customize the Look of Your TOC
If the default style doesn’t match your brand or document theme, you can edit it:
- Change font and size. Highlight the TOC text, then select a new font, size



![How To Create A Table Of Contents In Google Docs [2025 Guide]](https://i.ytimg.com/vi/8UBxkSQqm64/mqdefault.jpg)


