How To Screenshot From Windows 10
Capturing a screenshot on Windows 10 is a quick way to save a visual reference, share a problem with support, or create a tutorial. Whether you’re a casual user or a power user, Windows 10 offers several built‑in methods to take screenshots without installing extra software. This guide walks you through four reliable techniques, explains when to use each one, and shows you how to manage and edit the images you capture.
Why Screenshots Are Useful
Screen captures are a versatile tool for:
- Documenting steps in a process or troubleshooting guide.
- Reporting bugs to developers or support teams.
- Creating visual content for presentations, blogs, or social media.
- Saving evidence of an error or a user interface that has changed.
Because screenshots preserve the exact state of your display at a given moment, they are an indispensable part of digital communication.
Method 1: The Classic Print Screen Key
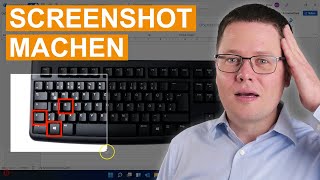
The most basic way to capture your entire screen is to press the Print Screen (PrtScn) key. This copies a bitmap image of the whole display to the clipboard.
- Navigate to the screen you want to capture.
- Press PrtScn on your keyboard.
- Open an image editor (e.g., Paint, Word, or Photoshop) and paste the image with Ctrl+V.
- Save the file in your desired format.
This method is quick but requires an extra step to paste and save the image. It is best for one‑time captures where you don’t need to edit the screenshot immediately.
Method 2: Capture the Active Window with Alt + Print Screen
If you only need the currently active window, use Alt+PrtScn. The image is again copied to the clipboard.
- Click inside the window you want to capture.
- Press Alt+PrtScn.
- Paste the image into an editor and save.
Because this method captures only the focused window, it’s ideal for isolating specific application content without background clutter.
Method 3: The Modern Windows + Shift + S Snip & Sketch
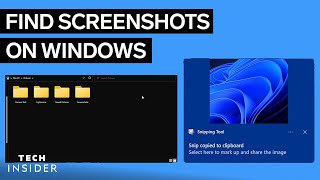
Windows 10’s Snip & Sketch tool (also known as the Snipping Tool) provides a flexible, built‑in screenshot editor. It allows you to capture a portion of the screen or a free‑hand shape.
- Press Windows + Shift + S simultaneously.
- A small toolbar appears at the top of the screen with four options