How To Screenshot In Computer Windows 10: A Complete Guide
Capturing what’s on your screen is a daily need for many Windows 10 users. Whether you’re documenting a software bug, sharing a game victory, or creating a tutorial, knowing the quickest way to take a screenshot can save you time. In this tutorial, find out how to take a screenshot in Windows 10 using four easy methods, plus some handy tips for editing and storing your images.
Method 1: Using the Print Screen (PrtScn) Key
The simplest way to capture your entire screen is with the built‑in Print Screen key. Follow these steps:
- Press PrtScn on your keyboard. The whole screen is copied to the clipboard.
- Open Paint, Word, or any image editor.
- Press Ctrl + V to paste the screenshot.
- Save the file by selecting File → Save As and choosing your preferred format.
If you want the screenshot saved automatically, press Windows + PrtScn. Windows will create a “Screenshots” folder inside Pictures and store the image as a PNG file.
Method 2: The Snipping Tool
Windows 10 still includes the classic Snipping Tool, a versatile utility for capturing custom areas of the screen.
- Open the Snipping Tool by typing “Snipping Tool” in the Start menu.
- Click New and drag the cursor to select the region you want.
- Release the mouse button to capture the snip.
- Use the built‑in editing tools to highlight or annotate, then click File → Save As.
This method is ideal when you need to capture a specific window or a rectangular portion of the screen.
Method 3: Snip & Sketch (Windows + Shift + S)
Microsoft’s newer Snip & Sketch tool offers a faster shortcut and additional editing features.
- Press Windows + Shift + S. The screen dims and a small toolbar appears at the top.
- Choose one of the four snip shapes: rectangular, freeform, window, or fullscreen.
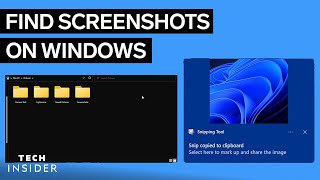
- After selecting the area, the screenshot is copied to the clipboard and a notification appears.
- Click the notification to open the image in Snip & Sketch, where you can add text, arrows, or highlights.
- Save the final image using the floppy‑disk icon or press Ctrl + S.
Snip & Sketch is perfect for quick annotations without leaving the screen.
Method 4: Xbox Game Bar (Windows + G)
If you frequently capture gameplay or video‑related content, the Xbox