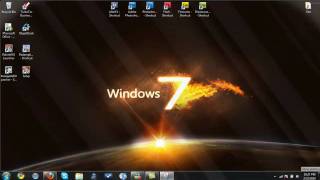
How To Screenshot In Pc In Windows 7: A Step‑by‑Step Guide
If you are still using Windows 7 on your PC, capturing the screen is a simple task once you know the built‑in options. Whether you need a quick snapshot for a tutorial, a bug report, or just to save a memorable moment, Windows 7 offers several reliable methods without requiring extra software. This article walks you through each technique, highlights shortcuts, and provides troubleshooting tips so you can screenshot confidently.
Why Capture Screenshots on Windows 7?
Screenshots are useful for:
- Documenting software errors or configuration settings.
- Creating visual guides for blogs, forums, or online courses.
- Saving receipts, chat conversations, or any on‑screen information that cannot be exported directly.
All of these tasks can be handled with native Windows 7 tools, keeping your workflow fast and secure.
Method 1: The Classic Print Screen Key
The most universal way to capture a screen in Windows 7 is the Print Screen (PrtScn) key on your keyboard. Follow these steps:
- Press PrtScn. The entire desktop is copied to the clipboard.
- Open Paint (or any image editor).
- Press Ctrl + V to paste the screenshot.
- Save the file with File → Save As and choose a format such as PNG or JPEG.
This method works even if your PC has multiple monitors; the image will contain all active screens.
Method 2: Capture Only the Active Window
If you want to screenshot just the window you are working in, use the Alt + PrtScn shortcut:
- Click the window you wish to capture to make it active.
- Press Alt + PrtScn. Only the active window is copied to the clipboard.
- Open Paint, paste, and save as described in Method 1.
This technique reduces the need for cropping later, especially when the surrounding desktop contains sensitive information.
Method 3: Using the Snipping Tool
Windows 7 includes the Snipping Tool, a lightweight utility that lets you select a custom region, window, or full screen. To launch it:
- Click Start → All Programs → Accessories → Snipping Tool.
- In the Snipping Tool window, click the drop‑down arrow next to