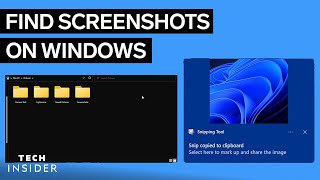
How To Screenshot In Windows Desktop: A Complete Guide
Capturing a screenshot on a Windows desktop is a simple task, but the variety of built‑in tools can make it feel overwhelming. Whether you need a quick grab of the entire screen or a precise snip of a single window, Windows provides several native options that work without additional software. In this article you will learn how to take screenshots using the keyboard, the Snipping Tool, Snip & Sketch, and the Xbox Game Bar. Follow the step‑by‑step instructions and choose the method that fits your workflow.
Why Screenshots Matter
Screenshots are useful for creating tutorials, documenting bugs, saving receipts, or sharing moments with friends. A clear image can convey information faster than a written description, and Windows makes it easy to capture exactly what you see on the screen.
Method 1: Using the Print Screen Key
The most straightforward way to capture an image is with the Print Screen (PrtScn) key on your keyboard. This method works on every Windows version and requires no extra programs.
- Locate the PrtScn key. It is usually found in the upper‑right corner of the keyboard.
- Press PrtScn to copy the entire screen to the clipboard.
- Open an image editor such as Paint, press Ctrl + V, and paste the screenshot.
- Save the file in your preferred format (PNG, JPEG, etc.).
If you want the screenshot saved automatically, press Windows + PrtScn. The screen will dim briefly, and the image will be stored in the Pictures\Screenshots folder.
Method 2: Snipping Tool (Windows 10 and Earlier)
The classic Snipping Tool offers more control than the plain Print Screen key. It lets you capture a rectangular area, a free‑form shape, or a specific window.
- Open the Snipping Tool by typing “Snipping Tool” in the Start menu.
- Click New and select the snip type from the dropdown (Free‑form, Rectangular, Window, or Full‑screen).
- Drag the cursor to define the area you want to capture.
- When you release the mouse button, the screenshot appears in the Snipping Tool window.
- Use the Save As button to store the image.