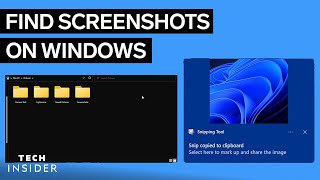
How To Screenshot Windows Notifications
Windows notifications are a quick way to see alerts, messages, and updates without leaving your current task. Whether you need to document a system warning, share a chat preview, or create a tutorial, capturing these pop‑ups can be tricky. This guide walks you through the most reliable methods—built‑in tools, third‑party utilities, and automation tricks—to screenshot Windows notifications quickly and accurately.
Why Capture Windows Notifications?
There are several reasons you might want to capture a notification:
- Technical support: Show a bug reporter the exact warning you received.
- Training materials: Demonstrate how a specific app notifies users.
- Documentation: Keep a record of system events for compliance or audit purposes.
- Social sharing: Highlight a funny or impressive notification on social media.
Because notifications appear only for a few seconds, you need a method that is both fast and reliable.
Built‑in Methods
Print Screen (PrtScn)
The classic Print Screen key captures the entire screen, including any visible notification. Follow these steps:
- When the notification appears, press PrtScn.
- Open Paint or any image editor.
- Paste the screenshot (Ctrl + V) and crop to the notification area.
- Save the image in your preferred format.
While simple, this method requires manual cropping and may include unnecessary background details.
Snipping Tool
Windows’ built‑in Snipping Tool (available in Windows 10 and earlier) lets you select a custom region:
- Open the Snipping Tool from the Start menu.
- Choose New and drag the cursor around the notification.
- Release the mouse button to capture the selected area.
- Click File → Save As to store the image.
If you encounter the “Snipping Tool not saving images” issue, make sure the tool has write permission to the destination folder or try running it as administrator.