How To Take Screenshot In Game Windows
Attention all gamers, students, and screen‑sharing enthusiasts! Whether you’re looking to capture a jaw‑dropping moment in a multiplayer battle, document a homework assignment, or simply share a funny glitch, knowing how to take a screenshot in Windows is a skill that pays off. This guide walks you through the most reliable methods, tips for optimal quality, and troubleshooting common hiccups.
Why Screenshots Matter
In the digital age, screenshots are more than just pictures. They serve as:
- Proof of achievements or progress in a game.
- Visual aids for tutorials or guides.
- Evidence in bug reports or support tickets.
- Quick snapshots for social media or streaming highlights.
Learning how to capture them efficiently saves time and ensures you never miss a pivotal moment.
Built‑In Windows Screenshot Methods
Windows offers several native options that work across most applications, including gaming windows. Below are the most common shortcuts:
- Print Screen (PrtScn) – Captures the entire screen and copies it to the clipboard. Paste it into Paint, Word, or any image editor.
- Alt + Print Screen – Captures only the active window, which is handy when you’re inside a game but don’t want the taskbar or other windows.
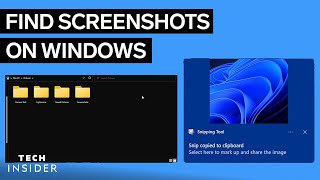
- Windows + Shift + S – Opens the Snip & Sketch toolbar. Choose a rectangular, free‑form, window, or full‑screen snip. The image is copied to the clipboard and a notification appears for quick editing.
- Windows + Print Screen – Saves a full‑screen capture directly to C:\Users\YourName\Pictures\Screenshots. No clipboard needed.
These shortcuts work on any Windows 10 or 11 machine, but they may not always capture the in‑game view when a game is in exclusive fullscreen mode.
Using the Game Bar for In‑Game Screenshots
Windows 10 and 11 include a dedicated Game Bar that is designed for gamers. It can capture both the game window and any overlays.
- Press Windows + G to open the Game Bar.
- Click the Capture button (camera icon) or press Windows + Alt + PrtScn to take a screenshot.
- The image is automatically saved to Videos