How to Zoom Out on a MacBook: A Quick Guide
Whether you need a broader view of a webpage, a document, or your desktop, knowing how to zoom out on a MacBook can save you time and eye strain. In this article we will learn how to quickly and easily adjust the zoom level using built‑in shortcuts, the trackpad, and system settings. The steps work on macOS Ventura, Monterey, and earlier versions, so you can follow along on most recent MacBooks.
Keyboard Shortcuts for Instant Zoom Out
The simplest way to reduce the size of on‑screen content is with a keyboard shortcut. Most apps support the following combination:
- Press Command (⌘) + Minus (–) together.
- The view will shrink by one step. Repeat the shortcut to continue zooming out.
- To return to the default size, press Command (⌘) + 0 (zero).
This method works in browsers, Finder, Mail, and many third‑party applications. It is the fastest way to zoom out without leaving the keyboard.
Using the Trackpad Pinch Gesture
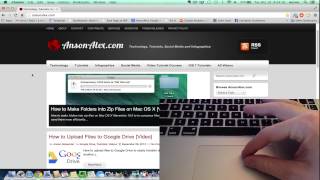
MacBooks come with a responsive trackpad that recognizes pinch gestures. To zoom out with your fingers:
- Place two fingers on the trackpad.
- Pinch them together gently.
- The content will shrink, giving you a wider view.
If the gesture feels too sensitive, you can adjust the tracking speed in System Settings → Trackpad → Point & Click. This option lets you fine‑tune how much zoom occurs with each pinch.
Adjusting Zoom Settings in System Preferences
macOS includes an Accessibility feature that lets you zoom the entire screen. While it is often used for zooming in, you can also set it up for controlled zoom‑out actions.
- Open System Settings (or System Preferences on older macOS versions).
- Navigate to Accessibility → Zoom.
- Enable “Use keyboard shortcuts to zoom.”
- To zoom out, press Option (⌥) + Command (⌘) + Minus (–).
- Use Option (⌥) + Command (⌘) + Plus (+) to zoom back in.
This method is especially useful when you need a consistent zoom level across all apps, such as when presenting or reviewing large spreadsheets.