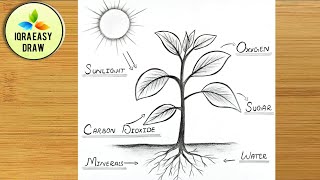
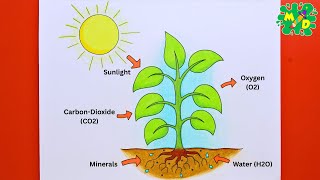
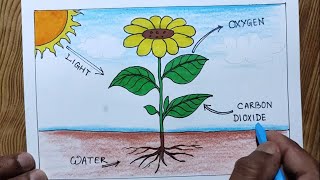
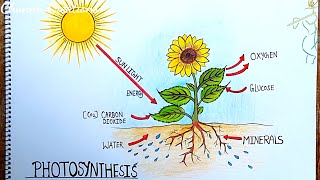
Photosynthesis Labeled Diagram: A Step‑by‑Step Guide
Photosynthesis is the process by which green plants, algae, and some bacteria convert light energy into chemical energy. For students, teachers, and anyone interested in biology, a clear labeled diagram of this process is an invaluable learning tool. In this article we’ll walk through the essential components of a photosynthesis diagram, explain how to draw it accurately, and provide tips to make your illustration both educational and visually appealing.
Understanding the Basics of Photosynthesis
At its core, photosynthesis takes place in the chloroplasts of plant cells. The reaction can be summarized with the following equation:
6 CO₂ + 6 H₂O + light energy → C₆H₁₂O₆ + 6 O₂
Key stages include:
- Light‑dependent reactions – Capture sunlight and produce ATP and NADPH.
- Calvin cycle (light‑independent) – Use ATP and NADPH to fix carbon dioxide into glucose.
To illustrate these stages, a labeled diagram should feature the chloroplast, thylakoid membranes, stroma, and the two reaction pathways.
Components to Include in Your Diagram
1. Chloroplast
The organelle that houses the photosynthetic machinery. It is typically depicted as a flattened oval or bean shape.
2. Thylakoid Membranes
Stacks of discs (grana) where light absorption occurs. They contain chlorophyll pigments and photosystems.
3. Stroma
The fluid surrounding the thylakoids where the Calvin cycle takes place.
4. Light‑Dependent Reaction Pathway
- Photosystem II (PSII) – absorbs light, splits water, releases O₂.
- Photosystem I (PSI) – absorbs light, produces NADPH.
- Electron transport chain – generates a proton gradient used to produce ATP.
5. Calvin Cycle
Uses ATP and NADPH to fix CO₂ into glucose. Key enzymes: Rubisco, glyceraldehyde‑3‑phosphate dehydrogenase.
6. Inputs and Outputs
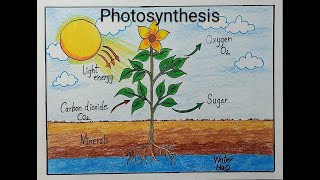
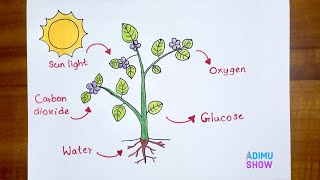
Show arrows indicating the flow of CO₂, H₂O, light energy, ATP, NADPH, glucose, and O₂.
How to Draw a Labeled Photosynthesis Diagram
Step 1: Sketch the Chloroplast Outline
- Draw an oval shape to represent the chloroplast.
- Divide it into two main regions: the outer envelope and the inner envelope.
Step 2: Add Thylakoid Stacks
- Inside the chloroplast, draw several stacked discs to depict grana.
- Connect the grana with stroma lamellae (thin ribbons).
Step 3: Label Light‑Dependent Components
- Mark Photosystem II on the top of the grana.