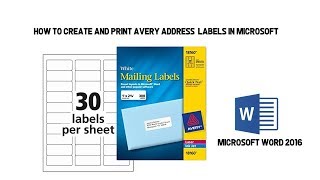
Printable Address Labels: A Complete Step‑by‑Step Guide
Whether you’re sending holiday cards, business correspondence, or a full sheet of return envelopes, printable address labels save time and give your mail a professional look. This tutorial shows you how to create custom labels from scratch, using free software and printable templates. Follow the steps below and you’ll be ready to print perfect labels for any occasion.
Why Choose Printable Address Labels?
Consistency is the biggest advantage. A single design applied to every envelope eliminates hand‑writing errors and ensures your return address appears exactly the same each time. Printable labels also let you:
- Use your own branding or holiday graphics.
- Print on standard label sheets that fit most inkjet and laser printers.
- Save money by buying bulk label paper instead of pre‑printed rolls.
Materials You’ll Need
Before you start, gather the following items:
- A computer with a word processor or graphic‑design program (e.g., Microsoft Word, Google Docs, or Canva).
- Printable label sheets – Avery, Staples, or any compatible brand.
- Inkjet or laser printer with fresh ink.
- Optional: a ruler and a pencil for test‑printing on plain paper.
Step 1: Choose the Right Template
Visit the label manufacturer’s website and download the template that matches your sheet size (e.g., 30 × 70 mm or 63.5 × 38.1 mm). Most sites provide Word and PDF versions that line up perfectly with the printed grid.
Step 2: Set Up Your Design
Open the template in your chosen program and follow these guidelines:
- Margins: Keep all text inside the printable area to avoid cut‑off.
- Fonts: Use clear, legible fonts such as Arial, Helvetica, or Times New Roman. A size of 10–12 pt works well for most addresses.
- Colors: Black ink offers the sharpest contrast, but you can add a splash of color for branding.
If you’re creating a full sheet of return address labels, duplicate the address block across each cell. This tutorial shows you step by step how to copy the content without misalignment.
Step 3: Add Your Address Information
Enter your name, street address, city, state, and ZIP code. For businesses, include your company name and logo. Example format:
John Doe 123 Main Street Anytown, CA 90210When you have multiple recipients, use a spreadsheet to generate a list and merge it into the template. This method is especially useful for mailing campaigns.
Step 4: Preview and Test Print
Before printing on the actual label sheet, print a test page on plain paper. Hold the sheet up to the light and compare the printed squares with the label outlines. Adjust any misalignments