Introduction to Q-Tip Skeletons
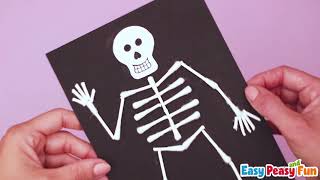
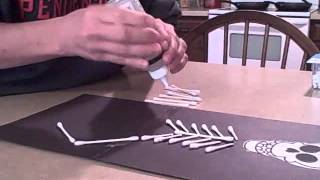
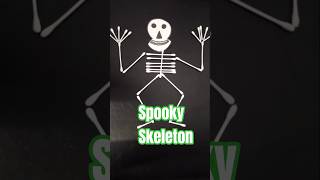
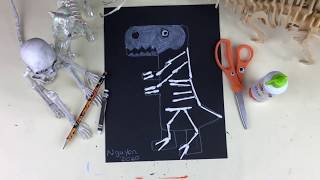
Halloween crafting often calls for creative uses of everyday items, and one surprisingly versatile material is the humble Q-tip. Also known as cotton swabs or earbuds, these small sticks can be transformed into delightful skeletal decorations or school project models. By arranging and gluing Q-tips onto a surface, you can build skeletons of various shapes and sizes, from human figures to dinosaurs. This activity is perfect for children and adults alike, offering a hands-on way to explore anatomy, symmetry, and design while celebrating the spooky season.
The charm of Q-tip skeletons lies in their simplicity and accessibility. With just a few supplies, you can turn a handful of cotton swabs into a fun Halloween creation that showcases your ingenuity. Whether you are preparing for a classroom project, a family activity night, or a festive decoration, learning how to make a skeleton using earbuds is a rewarding experience. Below, we will guide you through the process, providing clear steps and ideas to inspire your own skeletal masterpiece.
Gathering Your Supplies
Before you begin, it is helpful to collect all necessary materials. The following list covers the most common items needed for a basic Q-tip skeleton project. Adjust based on the specific design you choose.
- Q-tips or cotton swabs: Standard white swabs work best for a bone-like appearance. You will need around 20 to 30 depending on the size of your skeleton.
- Construction paper or cardstock: A dark background, such as black or purple, helps the white Q-tips stand out and creates a spooky contrast.
- Glue: White school glue or a glue stick is effective. For a stronger hold, consider craft glue or a hot glue gun with adult supervision.
- Scissors: To cut Q-tips into smaller pieces for ribs, fingers, or toes.
- Optional decorations: Googly eyes, markers, glitter, or stickers can add personality to your skeleton.