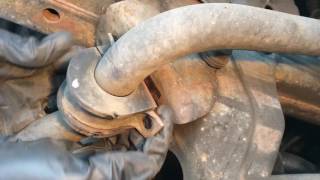
Sway Bar Bracket Bushing Replacement: A Step‑by‑Step Guide
If you’ve noticed a clunking noise when driving over bumps, especially in a Dodge Grand Caravan or Chrysler Town & Country, the sway bar bracket bushing may be the culprit. Replacing the bushing restores proper suspension geometry, reduces noise, and improves handling. This article walks you through the replacement process, tools you’ll need, and tips for buying quality parts.
Why the Sway Bar Bracket Bushing Matters
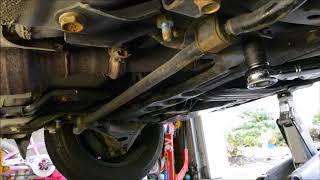
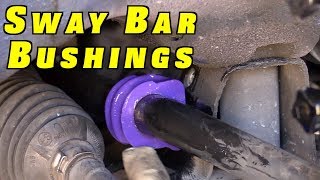
The sway bar (also called an anti‑roll bar) connects the left and right wheels to limit body roll during cornering. A bracket holds the bar to the vehicle’s frame, and a bushing isolates the metal components to absorb vibration. Over time, the rubber or polyurethane bushing can wear, crack, or become deformed. When this happens:
- The bar may shift, causing a distinct clunk or thump on uneven surfaces.
- Vehicle handling can feel loose or “floaty,” especially during turns.
- Excessive wear can damage the bracket or the sway bar itself.
Addressing the problem early prevents further suspension wear and restores a smoother ride.
Tools and Parts Required
Essential Tools
- Jack and jack stands (or a lift)
- Socket set with a 14 mm or 15 mm socket (size varies by model)
- Torque wrench
- Flat‑head screwdriver
- Pry bar (optional)
- Safety gloves and eye protection
Recommended Parts
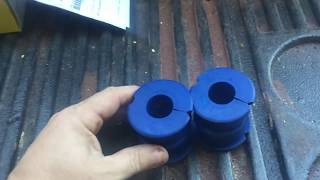
When shopping for a replacement bushing, choose a part designed specifically for your vehicle’s make, model, and year. High‑quality aftermarket options often use polyurethane for longer life, while OEM‑style rubber bushings provide a softer ride. A reliable source for these parts is 1AAuto.com, which offers a wide selection of sway bar brackets and bushings.
Preparation Before You Begin
- Park on a level surface. Engage the parking brake and place wheel chocks behind the rear wheels.
- Raise the front of the vehicle. Use a jack to lift the front axle, then secure it with jack stands. Never rely on the jack alone.
- Remove the front wheels. This provides clear access to the sway bar bracket.
- Inspect the existing bushing. Look for cracks, flattening, or oil seepage. If the bushing is damaged, it’s time for replacement.
Removing the Old Sway Bar Bracket Bushing
The removal process is straightforward but requires patience to avoid damaging surrounding components.
- Locate the sway bar bracket. It is typically bolted to the frame rail near the lower control arm.
- Loosen the bracket bolts. Using the appropriate socket, turn the bolts counter‑clockwise just enough to free the bracket without fully removing it. This creates slack for the bushing.
- Extract